10 Unique Calibration Prints and What They Teach You
SOFTWAREHARDWARE
4/29/20253 min read
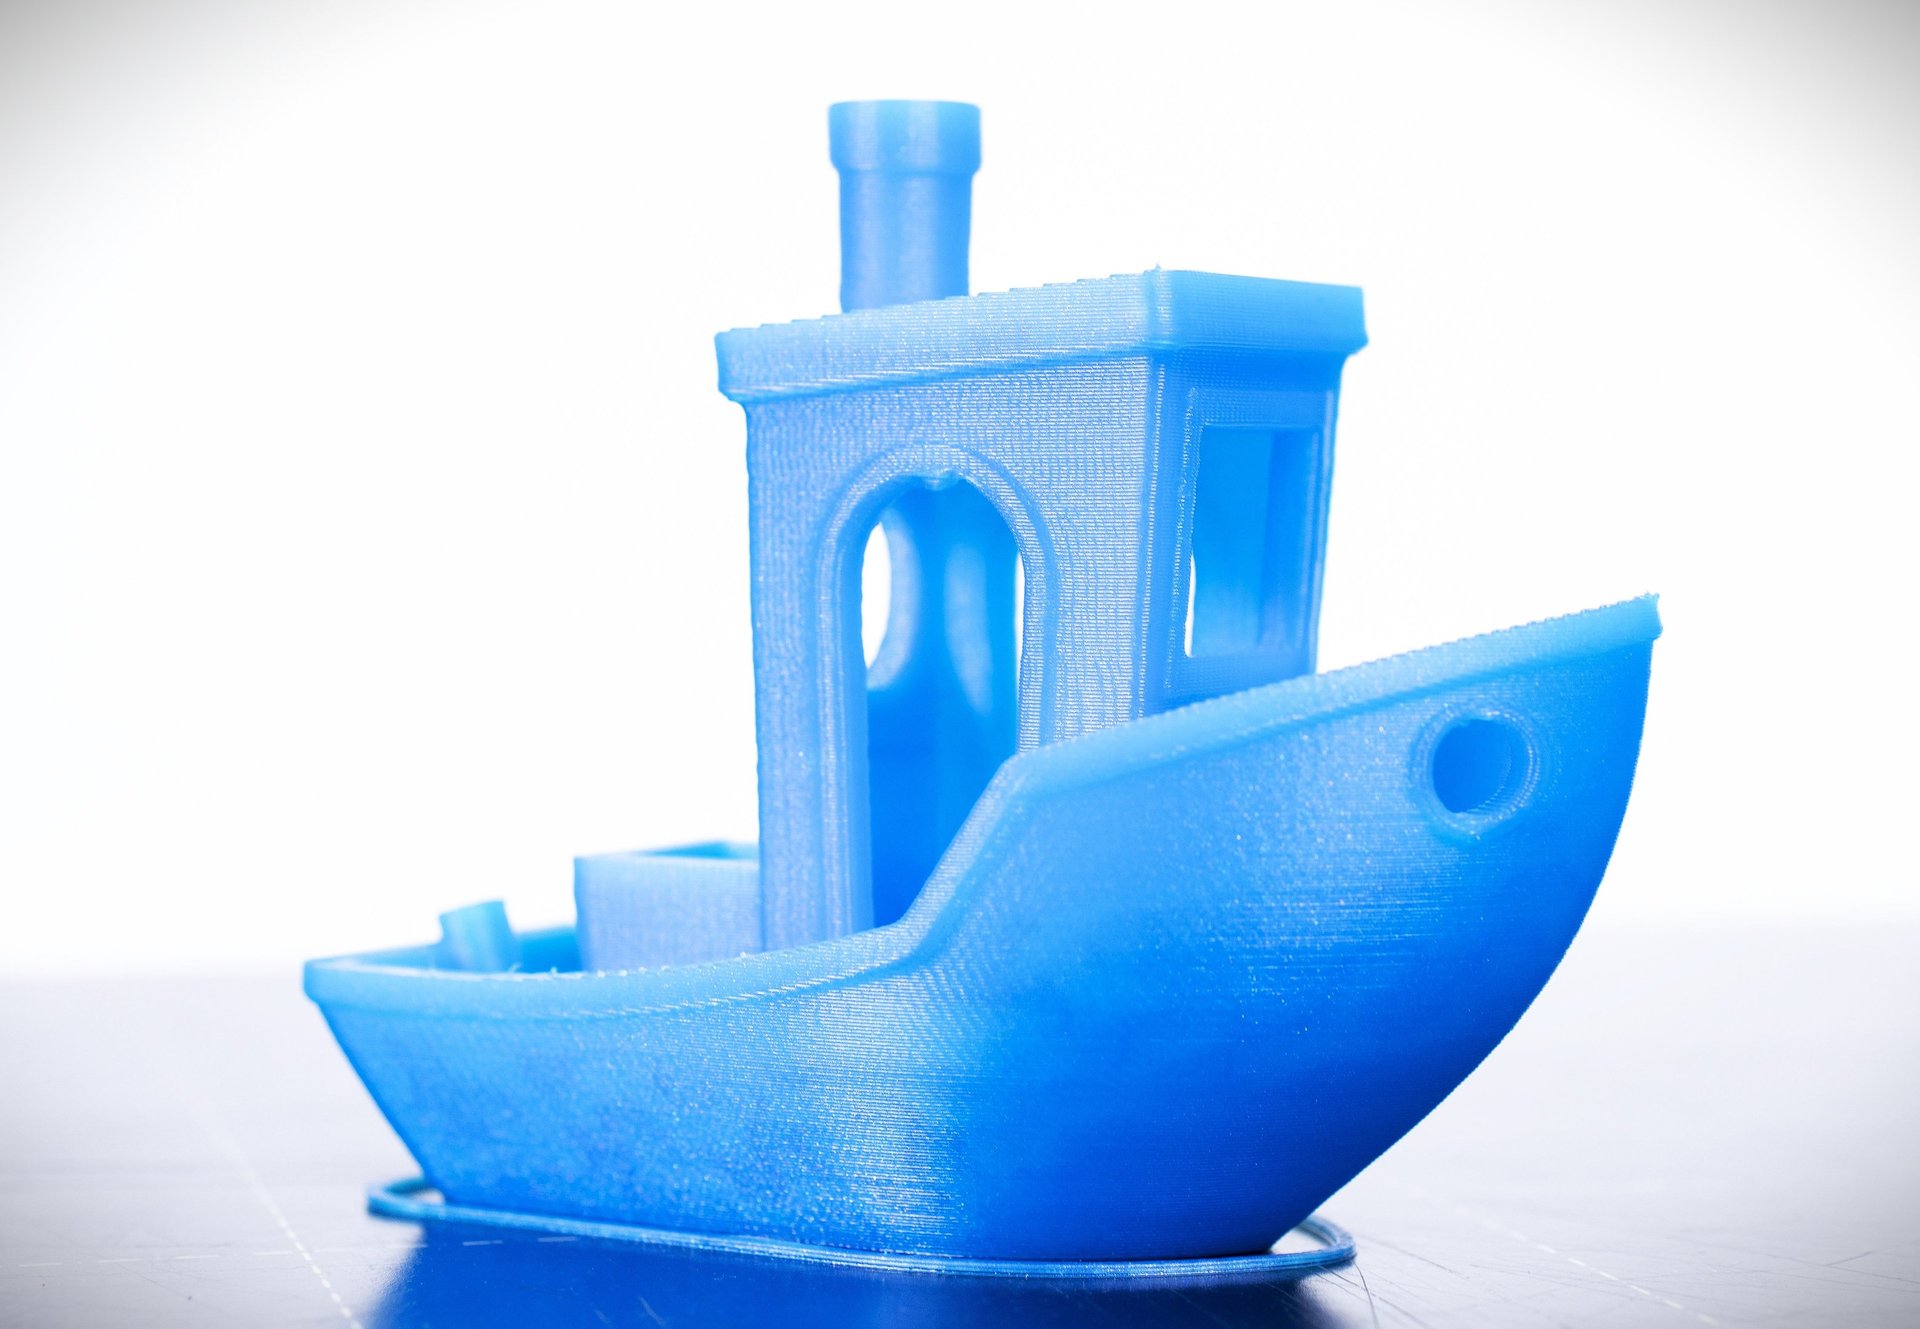
Ah, the Benchy. That adorable little tugboat. It's often the first print to emerge from a new 3D printer, a charming baptism by fire. And while the Benchy is a decent all-rounder for initial assessment, it doesn't truly put your machine through its paces in every critical area. Ready to level up your calibration game and unlock the full potential of your 3D printer? Let's set sail beyond the Benchy and explore 10 unique calibration prints, each designed to test specific aspects of your machine and help you dial in those perfect settings.
For each test, we'll provide a brief explanation of what it evaluates and a direct link to download the STL file so you can start optimizing!
Temperature Tower: Finding Your Filament's Sweet Spot
What it tests: This print features sections printed at incrementally different nozzle temperatures. By observing the print quality at each level (bridging, overhangs, stringing, surface finish), you can identify the optimal temperature range for your specific filament.
What to look for: The ideal temperature will exhibit the best balance of strong layer adhesion, minimal stringing, good bridging performance, and a smooth surface finish.
Download the model: Temperature Tower on Thingiverse
Bridging Test: Spanning the Gaps with Confidence
What it tests: This model features a series of horizontal spans of increasing length. It assesses your printer's ability to bridge gaps without support structures.
What to look for: The longest bridge printed without significant sagging or excessive stringing indicates your printer's bridging capability at your current settings (cooling, speed, temperature).
Download the model: Bridging Test on Thingiverse
Overhang Test: Defying Gravity (Within Limits)
What it tests: This print features angled surfaces with increasing degrees of overhang. It helps determine the maximum overhang angle your printer can handle without significant drooping or requiring support.
What to look for: Identify the angle at which the overhang quality starts to degrade. This helps you set realistic overhang limits in your slicer and optimize support placement.
Download the model: Overhang Test on Thingiverse
Retraction Test: Banishing Stringing and Blobs
What it tests: This model typically consists of multiple thin pillars or spikes with gaps between them. It evaluates your printer's retraction settings – how much filament is pulled back when the nozzle moves between print areas – to minimize stringing and blobs.
What to look for: The ideal retraction settings will result in clean breaks between the pillars with minimal or no fine strands of filament (stringing) or excess material (blobs) at the start and end points.
Download the model: Retraction Test on Thingiverse
First Layer Calibration: The Foundation of Success
What it tests: This simple flat square or series of lines assesses your Z-offset – the distance between the nozzle and the build plate for the first layer. A properly calibrated first layer is crucial for good adhesion and overall print quality.
What to look for: The first layer should be slightly squished onto the build plate with no gaps between lines and no excessive squish that causes ridges or elephant's foot.
Download the model: First Layer Test Squares on Thingiverse
Dimensional Accuracy Cube: Measuring Up to Expectations
What it tests: This simple cube with known dimensions (e.g., 20mm x 20mm x 20mm) allows you to measure the accuracy of your printer's output along the X, Y, and Z axes.
What to look for: Use calipers to measure the printed cube and compare it to the intended dimensions. Deviations can indicate the need to adjust your steps/mm settings for each axis in your printer's firmware.
Download the model: Calibration Cube on Thingiverse
Hole Diameter Test: Ensuring Accurate Openings
What it tests: This model features a series of holes with increasing diameters. It helps you determine how accurately your printer reproduces circular openings.
What to look for: Measure the printed holes with calipers and compare them to the intended sizes. Adjusting your slicer settings (like "horizontal expansion") might be necessary to achieve accurate hole dimensions for functional parts.
Download the model: Hole Diameter Test on Thingiverse
Speed Tower: Finding the Limits of Quality
What it tests: Similar to the temperature tower, this model prints sections at increasing speeds while keeping other settings constant. It helps you determine the maximum printing speed your printer can achieve while maintaining acceptable print quality.
What to look for: Observe the print quality at each speed increment, looking for signs of ringing, ghosting, layer shifting, or under extrusion as speed increases.
Download the model: Speed Tower on Thingiverse
Resonance/Ringing Test: Taming Those Wobbles
What it tests: This model often features sharp corners or thin walls designed to exaggerate resonance or ringing artifacts – wavy patterns that appear near sharp edges due to vibrations during printing.
What to look for: Observe the severity of the ringing at different speeds and accelerations. This test helps you fine-tune your printer's acceleration and jerk settings in the firmware to minimize these unwanted vibrations.
Download the model: Resonance Test on Thingiverse
Beyond the Benchy, Towards Perfection
While the Benchy offers a quick overview, these more specialized calibration prints provide invaluable insights into the nuances of your 3D printer's performance. By systematically running these tests and carefully analyzing the results, you can fine-tune your settings for different filaments and printing goals, ultimately leading to higher quality, more reliable, and more impressive 3D prints. So, ditch the one-size-fits-all approach and dive deeper into the art and science of 3D printing calibration! Your future prints will thank you.